Chatter is caused due to the tool's inherent frequency in cutting a particular material. The toolholder, cutter toolsing, and part fixtures can all alter the cutting frequency. To prevent chatter from rotating tools, it is essential to ensure that they are properly balanced. Some cases can be controlled with the help of balancing the working piece and the cutting tools. A glaze is a liquid suspension made of finely ground minerals. It is applied to ceramicware before it is fired at a temperature that makes it durable and resists warping.
Bow lathe chatter
The Chatter Tool for a Bow Lathe produces a variety ornamental patterns on turnings. The cutters made of spring steel vibrate while in use. You can choose from square, hollow, or domed ends. The Sorby Chatter Tool is 4 inches long and best suited for dense hardwoods. Here are some ways you can prevent chatter. For woodworking projects involving intricate patterns or complex curves, you should use this tool.
Robert Sorby chattertool
Robert Sorby's wood-lathe chatter tools is an effective tool for turning wooden. You can create many patterns on the end grain with this tool. There are four types, convex and concave, of cutting faces. This is a better choice for hardwoods, because it produces finer decoration then a saw. The cutters can vibrate in the use of their spring steel construction.
NOVACAM non-contact 3D metrology system
A Novacam non-contact 3D metrology system can accurately measure chatter in any part, including the ID. Novacam 3D metrology systems are able to acquire surfaces point-by-point using its low-coherence interferometry technology. They can measure upto 100,000 points per minute and generate more than 1 million 3D measurement point. Novacam software's data acquisition program makes it easy for users to automate data analysis, scanning, and measurement. It is possible to customize scanning criteria, measurement sequences, as well as subsequent reporting within minutes.
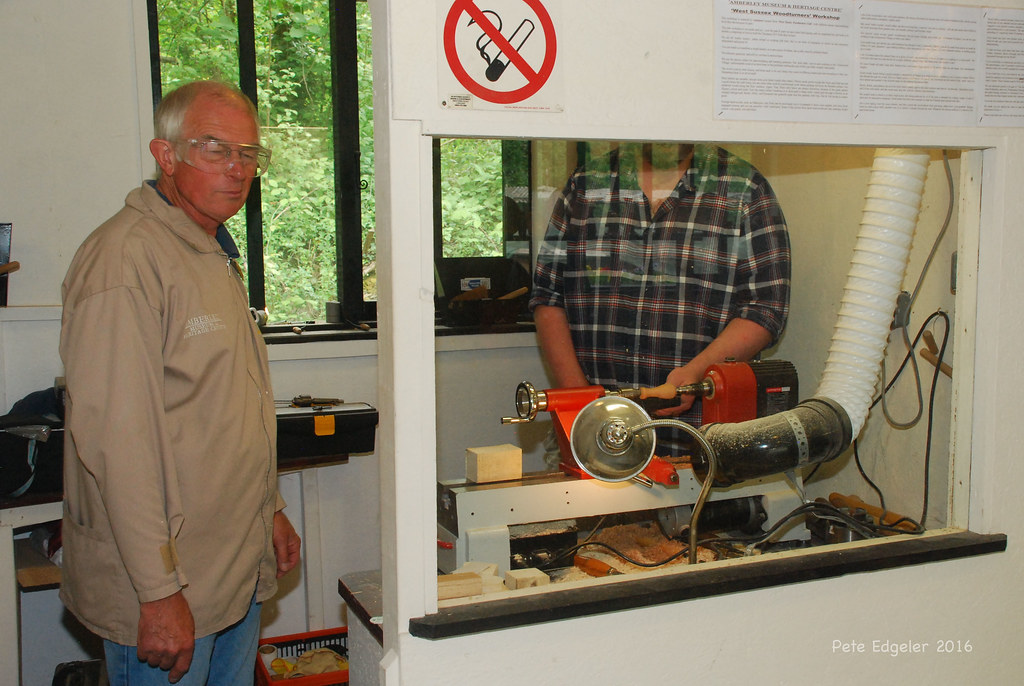
Unbalanced lathe
Chattering in your wood lathe can indicate that the piece is not balanced. You can blame a variety of factors including the type and direction of the wood used, how fast you turn, and what speed you use to cause the chatter. Chatter is usually a sign you have poor balance or used the wrong tools. Make sure to read your lathe manual. Chattering can also be caused due to a problem in your workpiece, or a dull cutter tool.
Slides for locking lathes

Wood lathe chatter can be prevented by properly locking the slide. Use the appropriate tool posts to lock the slide. The slide will move and chatter if it isn't locked. The bolt and nut can be used to lock the post. Chatter grease can be used to support the tool. Wood lathe chatter can be prevented by locking the slide securely. This will improve its functionality.
Using a chisel
A good woodwork tool is the chisel. The cutting edge should always be sharp and the back must be perfectly square. To achieve maximum success with chisels, you need to spend the time to polish them. To ensure that they are cutting smoothly, you should test their sharpness on softwood before using them. If the chisel's edge is too sharp, it will cause damage to the wood and rip the end grain.
Using a boring bar to produce wood lathe chatter
When it comes to using a boring bar to produce chatter on a wood lathe, choosing the wrong tool could cost you in the long run. Boring bars cost 10x more than plain steel bar and need to be held by four times their length. This will only address one problem: vibration. Do not use vibration dampening tools if your lathe is rattling.
FAQ
How much does a hobbyist need to invest in getting started?
It is likely that you will need some capital in order to buy the required tools and supplies if your goal is to open your own woodworking business. You can start by purchasing a small table saw and drill press as well as a circular saw, circular saw, jigsaw and sanding machines. These items won't break the budget and aren't expensive.
Which woods are good to use for furniture-making?
Woods are classified according their hardness. Softwoods include pine, fir, cedar, and cypress. Because they are resistant, they can be used for outdoor furniture. These hardwoods include maple, mahogany and teak. They are generally indoors as they don't weather well outside.
How do I choose the right tools for me?
It's important that you consider your needs and preferences while shopping for tools. Are you more comfortable with plastic or metal handles? What size nails and screws do you usually use? Are you more comfortable using power tools than hand tools?
How do I know what type of wood I'm dealing with?
Always read the label when purchasing wood. The label should include information about the wood species and its moisture content as well as whether or not it has been treated using preservatives.
How can I learn basic skills in woodworking?
It is an excellent way to learn how to build furniture. You can make a simple bench yourself. This project can be completed with whatever wood you have available at home. If you aren't sure what type of wood to use, you can buy cheap pine boards from Lowes or Home Depot. After you've constructed your bench you'll want sand all the rough edges off and varnish it.
What wooden items sell well?
Most wooden items that are best-sellers are made from wood harvested sustainably.
The most used wood types for furniture are oak, maple and walnut.
These woods are strong and durable, with beautiful grain patterns. They are also very durable if properly maintained.
To prevent moisture damage, wood furniture should always first be painted. This covers all surfaces, drawers included, as well as doors and handles.
If you want to make sure that your furniture lasts as long as possible, then you should choose a paint that is resistant to water.
A high-quality oil-based primer should be used, followed by two coats with top coat. It is possible to apply multiple coats depending on how heavy the wear.
You should avoid using aerosol paints or spray cans. These products contain solvents that evaporate quickly and leave behind harmful fumes.
What's the difference between a hobbyist and a professional woodworker?
Hobbyists enjoy creating things out of wood. Professionals tend to focus on the quality. Hobbyists are proud of their creations and will often share them with family members and friends. Professionals will spend hours researching designs before they begin working on a project. Professionals will be meticulous about all aspects of their work, from selecting the right materials to finishing it.
Statistics
- If your lumber isn't as dry as you would like when you purchase it (over 22% in Glen Huey's opinion…probably over 10-15% in my opinion), then it's a good idea to let it acclimate to your workshop for a couple of weeks. (woodandshop.com)
- Most woodworkers agree that lumber moisture needs to be under 10% for building furniture. (woodandshop.com)
- The best-paid 10 percent make $76,000, while the lowest-paid 10 percent make $34,000. (zippia.com)
- Average lumber prices rose about 600 percent between April 2020 and May 2021. (familyhandyman.com)
External Links
How To
How to make wood joints
This tutorial will show you how to join two pieces of wood together. The "pocket hole joint" is a method whereby we drill holes into the wood and glue them together. If your wood has a straight grain, smooth surface, you can use this method. Dowel joinery might be a better option if your wood is not straight or flat. Here are the steps
-
Drill Pocket Hole Joints. Start by measuring and marking the spot where the pocket hole joint will be placed. With a handheld drill machine or jig saw, drill 3/4-inch deep holes in the ends of each piece.
-
Sand Smooth. Sanding the wood's edges will help ensure that the joint won't split later.
-
Glue Together. Apply glue to both ends of the wood. Allow it to sit for approximately 5 minutes before you clamp the pieces together.
-
Clamp the Pieces Together. After the glue has dried you can attach the pieces to form a flush joint.
-
Trim Joinery. Trim the excess wood around the joint after the glue has dried completely.
Make sure to leave enough room between the pieces so that you can turn them inside and out.