Ride the bevel, a fundamental turn technique, is essential. It involves several key steps. Holding the tool's shaft firmly in contact with the tool rest, you advance the tool until its cutting edge touches the stock. As the tool advances you gradually raise the handle until its cutting edge touches the stock. The bevel does not cut through the stock. Once the cutting edge engages the stock, you ease the tool back, raising the handle again only when the cutting edge is engaged with the stock.
Wood turning is an specialized branch in woodworking.
The practice of wood turning is a popular hobby for people who love the tactile nature of wood and working with their hands. This niche branch of woodworking can prove to be rewarding for both experienced and novice woodworkers. Demonstrations should take between 6-10 minutes and 10 minutes. You should keep most of your stock in place during the demonstration so you can work on your piece.
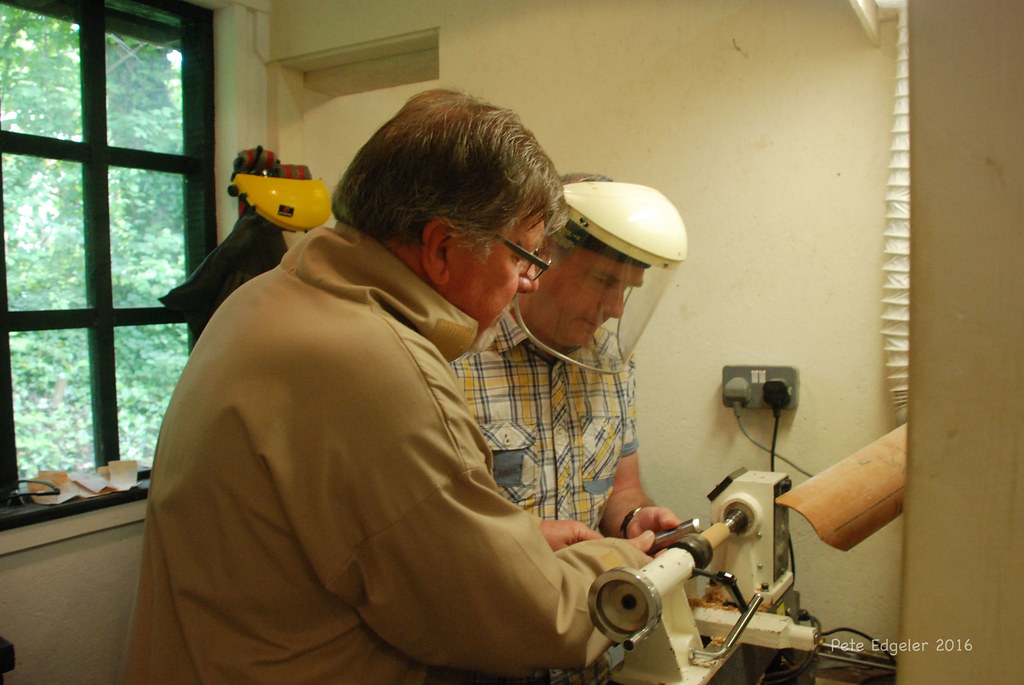
To avoid injury, it is important to protect your eyes when woodturning. Wood turning involves inserting a sharp tool into the wood. Protect your eyes with goggles, and protect your face from the burl by wearing a face shield. Moreover, the wood dust generated can cause respiratory problems, skin allergies, and even cancer. Finally, wood shavings from wood turning can cause skin irritation.
It takes less wood
Woodturning can be done on almost any tree species, but some pieces are more difficult to turn. While woodturning stock can be made from any section of a tree, some parts of a tree have better grain and figure than others. Here are some tips to make your woodturning project go faster. First, select stable material. Make sure the lumber you choose is stable. Second, make sure to select a piece with tight bark. Tight bark resists being checked and allows the woodworker or artisan to create an edge vessel.
A wooden blank can be used as a basic tool for turning. Find a lumber yard, and then purchase it. A large sawmill can cut large logs into smaller pieces. Then, a table saw or bandsaw will cut these sections further. DIYers can also cut the lumber to make blanks. Sometimes, fleshly cut wood is dried before turning. This prevents cracks which is crucial for high-quality turning projects.
It is safer

If you are looking for a more stable cutting environment, you should consider purchasing a Swiss-Style lathe. Bar stock is not always perfectly straight. However, it can cause vibrations that can alter tool wear and precision. Swiss-style lathes are not equipped with belt drives and produce less vibration. The sliding headstock must be smooth and precise to avoid harmonic vibrations that can result from high-speed rotation. The sliding mechanism's preloaded roller pads ensure smooth movement. High-speed rotation can create harmonic vibrations. The sliding mechanism is capable of absorbing these vibrations.
FAQ
How can I keep my shop organised?
First, make sure you have a designated space for tools storage. Your tools will stay sharp and ready to go when they are free from dust and debris. Use pegboard hooks to hang tools and accessories.
Can I succeed in woodworking if I'm a genius?
No. No. Woodworking isn't rocket science. Anyone can learn how to use basic power tools and techniques to create beautiful works of art.
How often should new supplies be purchased?
Some tools will need to be replaced over time. If you're using hand tools, you'll need to sharpen them regularly. And if you're using power tools, you'll need replacement parts periodically. Try spreading your purchases over a few months so you don't buy too many at once.
Statistics
- Woodworkers on the lower end of that spectrum, the bottom 10% to be exact, make roughly $24,000 a year, while the top 10% makes $108,000. (zippia.com)
- The best-paid 10 percent make $76,000, while the lowest-paid 10 percent make $34,000. (zippia.com)
- Overall employment of woodworkers is projected to grow 8 percent from 2020 to 2030, about as fast as the average for all occupations. (bls.gov)
- If your lumber isn't as dry as you would like when you purchase it (over 22% in Glen Huey's opinion…probably over 10-15% in my opinion), then it's a good idea to let it acclimate to your workshop for a couple of weeks. (woodandshop.com)
External Links
How To
How to make wooden joints
This tutorial will help you join two pieces of wooden together. The "pocket hole joint" is a method whereby we drill holes into the wood and glue them together. This method works great if your wood is straight and smooth. You may want to consider other methods, such as dowel joining. Here are the steps
-
Drill Pocket Hole Joints. Start by measuring and marking the spot where the pocket hole joint will be placed. Then drill 3/4 inch deep holes into the ends of each piece of wood using a jig saw or handheld drilling machine.
-
Sand Smooth. Sanding the wood's edges will help ensure that the joint won't split later.
-
Glue Together. Apply glue on both sides of the wooden plank. Allow the wood to rest for five minutes before clamping it together.
-
Fix the Pieces together. After the glue has dried thoroughly, secure the pieces so that they are flush.
-
Trim Joinery. Trim the excess wood around the joint after the glue has dried completely.
Be sure to leave enough space between each piece so that they can be turned inside-out.