If you are considering learning how to make ornaments, you may want to check out the classes offered at your local community college. There are many crafts to choose from, and woodturning is no exception. A wooden spoon or bowl can be turned into a Christmas tree ornament. Here are some suggestions for beginners. The first step is to find a craft class you enjoy. For example, woodturning can be a great choice if your preference is for intricate designs.
Dale L. Nish
Dale L. Nish, one of America's most respected woodturners, has been teaching his art and demonstrating it to the general public for many decades. Woodturning with Ray Allen is his latest book. Dale L. Nish also wrote Creative Woodturning and Artistic Woodturning.
Dale L. Nish shares step-by steps for creating woodturned Christmas ornaments. This comprehensive guide contains color photos, detailed plans, and expert tips about using templates. This book includes ornament ideas by top woodturners. This book is essential to anyone looking to create stunning wooden ornaments this holiday season.
Dick Sing
Dick Sing gives step-by_step instructions on how you can make various types of wooden ornaments. This includes bowls, eggs and icicle spindles. Throughout the book, he offers a variety of color photos to guide you through each project, as well as helpful tips for selecting the right woods and using the tools correctly. There will also be many ideas for Christmas gifts.
As an aspiring woodturner, Dick began doing demonstrations at woodcuts in Racine, WI. His first demonstration brought a sweaty under his lathe. Soon Dick was receiving requests to demonstrate at craft shows, festivals, and craft shops across the country. Even a California craft club called him. The rest is history. Dick Sing has been teaching and demonstration woodturning since 1989.
Acacia trio
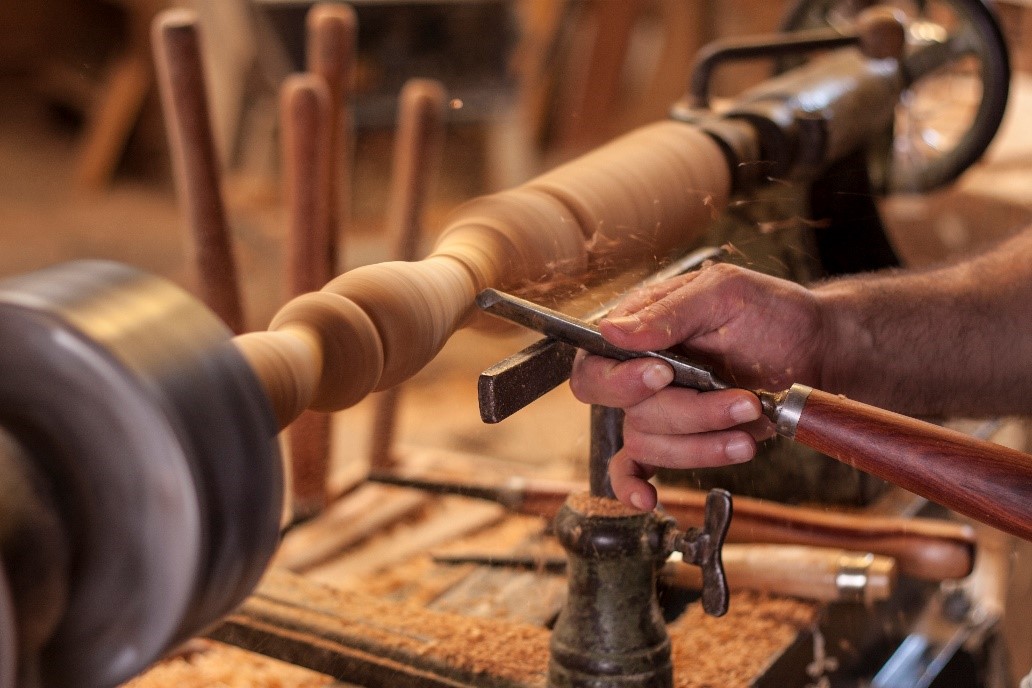
The Acacia trio of woodturning ornaments is a stunning ornament made of real sea urchin shells and turned ebony finials. Each piece is 7 inches long and hangs on a monofilament. You will need to use a drill and a small bit. First measure the desired ornament's width and mark the center using a square. Next, slide the spur into place against the spindle. Once you have the wood in place, turn the lathe. Start turning with a roughing gouge, and then use a parting tool to round the edges and give the ornaments details.
Sputnik
A hand-turned Sputnik Sea Urchin ornament will make a lasting gift. It has wavy color patterns and distinctive horn-like protrusions that will surely catch the recipient's eye. The shell has been crafted to fit the finial. It can be made from maple, bloodwood or other wood and is coated with protective spray clear enamel. These space-themed ornaments can be used for any occasion and make great conversation pieces.
To buy wooden ornaments inspired Sputnik chandeliers, visit the Met Opera Shop. Each ornament is 3-1/2 inches wide and comes with an elegant gold ribbon. You can buy one ornament or three. For maximum protection, you can purchase one of the four sets with four ornaments that are Sputnik-themed. They will be sent flat-rate USPS Priority Mail.
Acacia trio by Dale L. Nish

For nearly three decades, Dale L. Nish has made a profound impact on the woodturning industry as an author, teacher, and international speaker. Throughout his many travels, he has presented his work on more than two hundred occasions and written numerous articles on the subject. He shares his top tips for making ornaments and includes a gallery featuring the work of some of his favorite turners.
Acacia trio by Dick Sing
This book includes step-by-step instructions with color photos that show you how to make Acacia trio woodturning ornaments. This book also includes tips for beginning woodturners, such as selecting the right wood for the project and using appropriate tools. This book also has a tutorial for hollow, carved wood eggs. You can order a copy today to learn how to create these unique ornaments.
FAQ
Can I make a living doing this?
Yes! In fact, many woodworkers already do. According to the U.S. Bureau of Labor Statistics, the median annual woodworker wage was $34,000 in May 2012. This is more than the national average of 31,000 per annum.
How do I choose the right tools for me?
It is important to consider your needs and preferences when shopping for tools. Do you prefer metal or plastic handles What size of nails and screws do your hands use most? Do you prefer to use hand tools or power tools?
What's the time taken to finish a piece furniture?
It depends on the size of the piece of furniture. Smaller projects like boxes and picture frames can be finished within one day. Larger projects, such as desks and dining tables, can take several days. It takes time to properly stain and seal wood.
Statistics
- The U.S. Bureau of Labor Statistics (BLS) estimates that the number of jobs for woodworkers will decline by 4% between 2019 and 2029. (indeed.com)
- Average lumber prices rose about 600 percent between April 2020 and May 2021. (familyhandyman.com)
- The best-paid 10 percent make $76,000, while the lowest-paid 10 percent make $34,000. (zippia.com)
- If your lumber isn't as dry as you would like when you purchase it (over 22% in Glen Huey's opinion…probably over 10-15% in my opinion), then it's a good idea to let it acclimate to your workshop for a couple of weeks. (woodandshop.com)
External Links
How To
How to join wooden boards without using nails
Woodworking is an enjoyable hobby. It is relaxing and enjoyable because you can create something useful with wood. You may need to join two pieces without the use of nails. This article will explain how to do this so that your woodwork projects stay beautiful.
Before you can join the wood pieces together, you need to remove any rough edges. You don't want any sharp corners to cause problems later. Once you've done this, you're ready to start gluing your boards together.
If you are working on hardwood, you should only use glue on one side. If you're using softwoods like pine or cedar, you should put glue on both sides. Press the boards down until the glue is fully incorporated. Before you proceed to the next step, be sure to let the glue dry completely.
Once you've glued your boards together you will need to drill holes in the joints to accommodate screws. These holes will differ depending on the type and size of screw you are using. If you are going to use a half-inch wood screw, you will need to drill at least 3/4 inch deep.
After drilling the holes, you can drive the screws into your board's backside. Be careful not to hit the front surface of the board, or else you'll ruin the finish. Be careful not to drive the screws too hard at the ends. This will prevent the wood from splitting.
Protect your finished project now. You can either cover the entire furniture or just the top. It doesn't matter what method you use, you want something that will last many years. Some examples include oil-based varnishes, polyurethane, shellac, lacquer, etc.
You can find these products at most home improvement stores. It is important to ensure that you purchase the correct product for the job. Keep in mind that certain finishes can be toxic and should not be used indoors. Protective gear should always be worn when handling these finishes.