
Woodwork beginners often struggle with the exact same issues: lack of confidence and patience as well as poor work quality. These tips are simple and can make a huge difference. Listed below are 15 important tips on woodworking with pallets. Each one will increase your success. A good example is using a powersaw to solve this problem. Some other simple tips are effective for woodworking pallets. When finishing, tape a piece of thin paper with duct tape around the edges to protect the workpiece.
15 important tips on woodworking with pallets
Before you get started with pallet woodworking, here are some important tips that you need to keep in mind. Remember that pallet woodworking is dangerous. Make sure to use safety equipment and have a solid work surface. Wood clamps can be used to secure the pallet during cutting. Be sure to follow all safety precautions for each tool. Pallet wood is best handled with care.
It can be tricky to take apart a pallet, and you must be patient when doing so. Avoid getting lost in a maze of nails and scraps. This will allow you to work more quickly. Protect your eyes by wearing thick gloves and protective eyewear. After disassembling a pallet, you must store the wood according to its size and color. If you don't, nails can stick out and make a big hole in the wood.
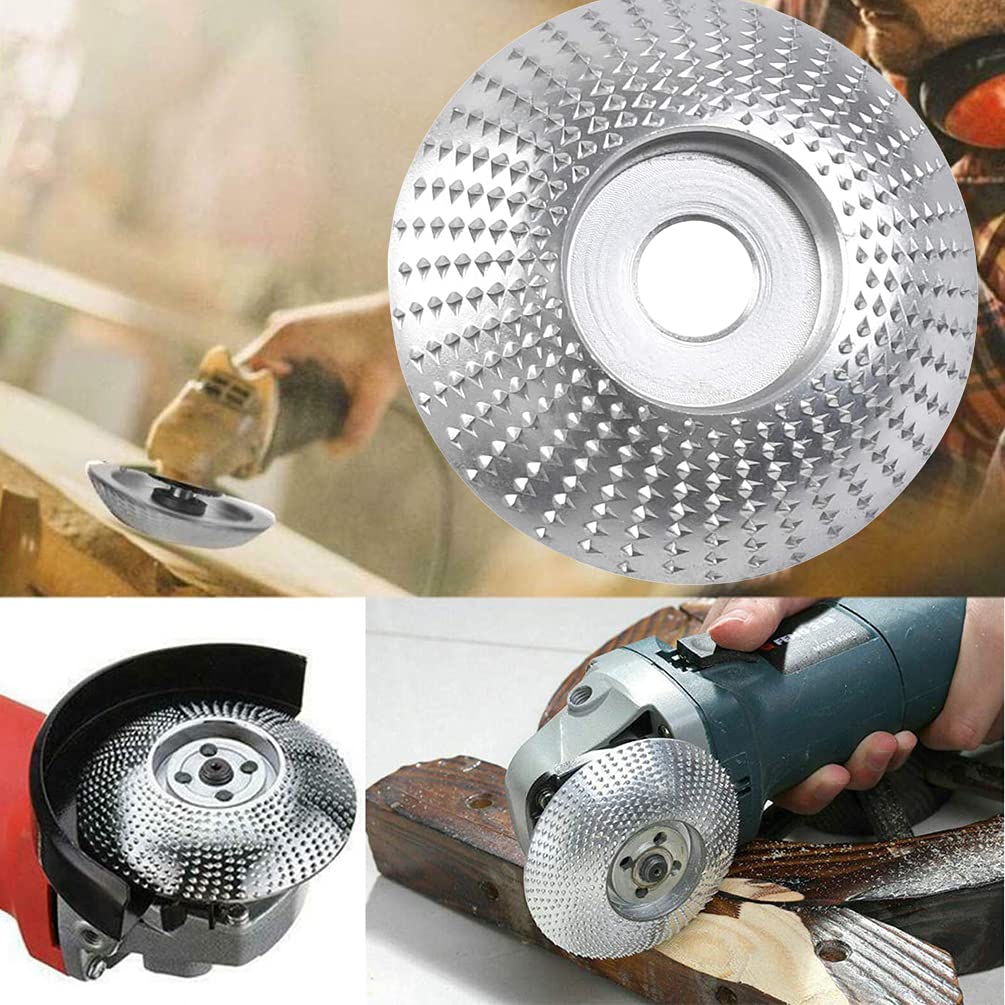
Power saws
There are many types of power saws for woodworkers who are just beginning. Some are smaller and more simple while others can handle more complex tasks. There are pros and cons to each type of tool, so it is important that you decide what kind you need before you buy. There are two main types if power saws: the jigsaw, and the tablesaw. Table saws are excellent for cutting both wood- and plastic materials.
A portable saw, whether you're using it for a door frame project or a molding project is an indispensable tool in any toolbox. A portable saw makes it easy to cut cleanly without the fuss and hassle of a tablesaw. If you need to cut quickly and accurately, a powersaw is the best choice. Safety is the most important aspect of power saws. Learn how to properly care for your blades and what protective gear you should use.
Keeping workpieces off bench surface during finishing
Finishing workpieces should be kept off the workbench's surface. Consider removing workpieces from the workbench when finishing woodwork. Shiny film finishes on workbench work surfaces can cause workpieces to slip and crack when hit with a hammer. An oil/varnish blend sold as Danish Oil is a good choice, as is boiled linseed oil. A wall is able to support a workbench. Windows can also be used to shine useful light on it.
Use duct tape to secure thin sandpaper.
When it comes to sandpaper, there are several different types available. Some are cloth-backed, while others have PET film or fiber backings. The backings can either be attached to paper or made of their own support structures. Flexible backings are best for irregular surfaces. An inflexible backing can cause scuffing and ripping, which will result in a more rough finish.

You can make your sandpaper flexible by attaching a piece old duct tape to the back of a thin layer of sandpaper. This is a cheap and quick way to make it more flexible. These strips are ideal for sanding spears, dowels and staffs. They can also be easily cut to fit any shape.
FAQ
What is the hourly rate for a woodworker?
The hourly rate paid to a professional woodworker is dependent on many factors. These include skill level, availability, and location.
An hourly wage for skilled woodworkers is between $20 and $50.
An hourly rate of $10 for a less skilled woodworker could be possible.
How do you know which tools are the best for you?
It helps to reflect on your needs and preferences before you shop for tools. What do you prefer: metal or plastic handles? What size screws and nails do you use most often? Are you comfortable with power tools, or would you rather use hand tools?
Is it hard to start my own woodworking business?
It can be difficult to start your woodworking business. There are many regulations and legal requirements that you will need to comply with. This doesn't necessarily mean that you should go through all the work of setting up a company. Many people decide to join established businesses. This will allow you to avoid paying membership fees and taxes.
How often should I get new supplies?
Some tools will need to be replaced over time. Sharpening hand tools is a must. If you are using power tools, you will need to purchase replacement parts regularly. To avoid buying too much at once, try to spread your purchases out over a few months.
What is the average time it takes to finish furniture?
It depends on the type of wood you choose, the complexity of the design, and the amount of finishing you apply. Hardwoods, for example, require more maintenance than softwoods. Hardwoods are also more expensive than softwoods. But they last longer and resist moisture better. The average time it takes to finish furniture is one week to three weeks.
Statistics
- The best-paid 10 percent make $76,000, while the lowest-paid 10 percent make $34,000. (zippia.com)
- Woodworkers on the lower end of that spectrum, the bottom 10% to be exact, make roughly $24,000 a year, while the top 10% makes $108,000. (zippia.com)
- Average lumber prices rose about 600 percent between April 2020 and May 2021. (familyhandyman.com)
- If your lumber isn't as dry as you would like when you purchase it (over 22% in Glen Huey's opinion…probably over 10-15% in my opinion), then it's a good idea to let it acclimate to your workshop for a couple of weeks. (woodandshop.com)
External Links
How To
How to stain wooden surfaces
Staining wood refers to applying chemicals to wood's surface. This chemical reaction causes the wood to change in color. This chemical reaction causes wood to turn from whiteish to brownish. Oak is the most commonly used wood for staining, but other woods can also be stained.
There are many options for applying stains to wood surfaces. One method involves mixing the stain and a solvent and then spraying it on the wood. Another method involves applying a solution of water to the wood. The stain can be mixed with paints and varnishes to become part of the final coating.
The first step in staining wood is preparing the surface. The wood must be thoroughly cleaned to remove all grease and dirt. Sanding the wood removes scratches and imperfections. Next, you need to decide which stain you want. There are two types of stains that can be used: penetrating and non-penetrating. Penetrating stain penetrates deeper into wood than nonpenetrating, making them suitable for dark colors like mahogany. The best non-penetrating colors are those that work with light colors like maple.
Once you have decided on the stain type that you want, get your tools ready. You can use a paintbrush to apply stains. This allows you spread the liquid evenly over the surface. After you're done painting, make sure to have some rags handy to remove any excess stain. You should have enough containers to store the various components of the stain mixture if you intend to mix it yourself.
After you have prepared the materials, you can clean the area where you want to stain the wood. Use soap and warm water to remove dust and grime. Wipe the entire piece of furniture with a rag dampened with clean water. You should remove any debris, especially if your plan is to stain darker wood.
Apply the stain next. Start at one end of the piece of furniture and brush or spray the stain onto the wood. Work slowly and carefully, moving back and forth along the grain of the wood until you reach the opposite end. Make sure that the stain does not drip off the edge of the wood. Before moving on to the next steps, allow the stain drying completely.
Protect the painted surface with a coat polyurethane paint sealant. Three coats of polyurethane sealing agent are required. Allow the third coat, which should dry overnight, to dry before sanding.