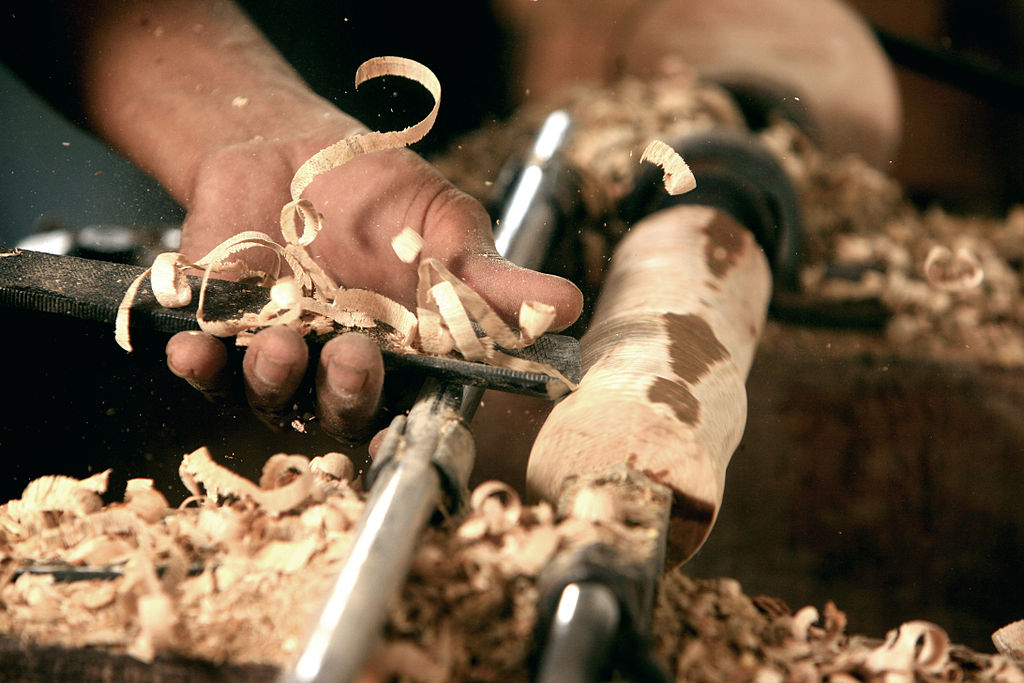
A face shield for wood turning is a must-have accessory for every woodturner. Woodturners work in an extremely noisy environment. It is important to take the necessary precautions to protect your hearing. Loud noises can cause serious hearing loss. You can look stylish and functional with face shields.
Bionic Face Shield
A Bionic mask is essential for woodturners. This protective equipment can be used for many kinds of work including woodturning. This face shield offers comfort all day and superior protection against flying debris, as well as from infrared radiation resulting from welding. It is extremely lightweight and comfortable due to its streamlined design. Its visor is easily removable so that you don't have to strain your vision.
The Bionic Face Shields are available in clear and tinted Polycarbonate to provide enhanced protection. The tough visor offers protection from flying debris and chemical splashes. It provides excellent peripheral vision and extends above the head to give you an even better view. The safety of the dielectric construction in an electrical environment is ensured. For comfort and perfect fit, the face shield has an ergonomic design with rear foam padding. There are many options for tints to suit your requirements. The Bionic Face Shield will fit snugly over any safety eyewear. It can also be used comfortably with most goggles, respirators and goggles.
3M 90028
The Face Shield For Wood Turning can be used as a safety device for woodturning. The face shield is thick and durable, providing superior protection from high-impact injuries while still being comfortable and practical to wear. The face shield can be adjusted to suit most people, even those with narrow faces or heavy eyes. You can choose from clear or anti fog versions of the visor. The Face Shield For Woodturning, which is ANSI94 compliant, fits comfortably over most types respirators.
The premium materials used in the face shield are combined with a ratcheting, adjustable headgear suspension. It has a top visor shield, adjustable headgear, and a ratcheting suspension. It's lightweight and comfortable, with a customizable band that fits any size face. The face shield has been tested for protection against injuries in work and is suitable for all work environments. You will be glad that you purchased it.
For woodturning, a powered face shield respirator is another option. These respirators help protect workers' faces from dust, fumes, and other harmful particles. These shields protect eyes, lungs, good looks, and the skin around them. These shields may be more costly than other options, but they are definitely worth the cost. You should not sacrifice your aesthetics in order to ensure safety. When using a powered shield, you may need to bring your own respirator.
Honeywell Bionic Face Shield
The Bionic Face Shield, a protective shield for the face, is made to withstand harsh environments. It protects you from chemical splashes, impact and other airborne debris. You can adjust the fit to your liking with its adjustable design. The visor can be removed and replaced. The face mask can be worn over protective eyewear such as respirators or goggles. It is lightweight, comfortable, and can be worn all day.
The visor is made of polycarbonate and offers excellent protection against flying debris while not obstructing your view. It adjusts to fit comfortably around your head with a removable sweatband. It is suitable for indoor and outdoor use. The visor flips up for easy access and flips down for protection. Honeywell Bionic Face Shields protect your face from flying particles and keep your face protected while you're at work.
FAQ
What tools work best for me?
It is important to consider your needs and preferences when shopping for tools. Do you prefer metal or plastic handles What size are you most comfortable using for screws and nails? Are you more comfortable using power tools than hand tools?
What is the average time it takes to finish furniture?
It depends on the size and condition of the furniture. You can finish smaller projects, such as boxes or picture frames, in one day. Larger projects like dining tables and desks require several days. It takes time and effort to properly stain the wood.
What tools should I start with when becoming a woodworker?
Woodworking is an art. It requires patience. It takes time for you to master the different techniques and tools that are required to woodwork.
There are many options for woodworking equipment today. Some people prefer using power tools while others prefer hand tools.
The choice is yours, but you must ensure you choose the right tool for the job. If you don't have any experience, you may consider starting with a basic set of hand tools.
You might also want to learn how a router works, which allows you to cut wood into intricate shapes. These tools can be purchased at most hardware stores.
Where can I begin with woodworking
It is best to actually build furniture to learn how to make it. While you will need tools and make mistakes, you will eventually master the art of building furniture.
First, choose a project you would like to complete. It can be something as simple and small as a box, or large-scale as an entertainment center. Once you've decided on a project, find a local woodworker who specializes in that kind of work. Ask the local woodworker for help in deciding what tools and where to get them. You might even ask whether there's someone else you can talk to who does this kind of work.
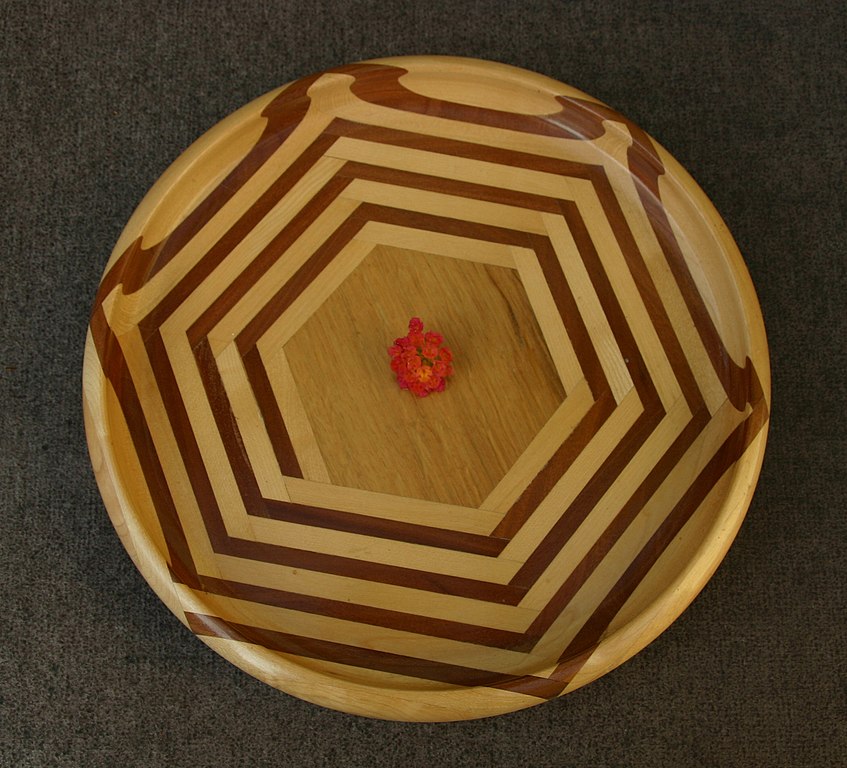
Which wooden products are most popular?
The best-selling wooden items are those which have been made from wood that was harvested sustainably.
Most furniture is made from oak, maple, mahogany or walnut.
These woods are extremely strong but also have beautiful colors and grain patterns. They also last for many years if cared for properly.
To prevent moisture damage, wood furniture should always first be painted. This applies to all surfaces, even drawers and doors.
Choose a paint with water resistance if you want furniture to last as long possible.
You should use a high-quality oil-based primer followed by two coats of top coat. It is possible to apply multiple coats depending on how heavy the wear.
Avoid spray cans and aerosol paints. These products have solvents that evaporate quickly, leaving behind dangerous fumes.
How can I keep my shop organised?
The first step toward keeping your workshop clean and organized is to set aside a designated area for storing tools. You want your tools to stay clean and free from debris and dust. You can hang tools and accessories with pegboard hooks.
Are you able to teach yourself woodworking
Learning by doing is the best way of learning anything. Woodworking requires patience, practice and skill. Every craft takes practice and patience.
To actually learn something is the best way. Start small, and work your way up from there.
Statistics
- Average lumber prices rose about 600 percent between April 2020 and May 2021. (familyhandyman.com)
- In 2014, there were just over 237,000 jobs for all woodworkers, with other wood product manufacturing employing 23 percent; wood kitchen cabinets and countertop manufacturing employing 21 percent. (theartcareerproject.com)
- The best-paid 10 percent make $76,000, while the lowest-paid 10 percent make $34,000. (zippia.com)
- Woodworkers on the lower end of that spectrum, the bottom 10% to be exact, make roughly $24,000 a year, while the top 10% makes $108,000. (zippia.com)
External Links
How To
How to make wood joints
This tutorial will show how to join 2 pieces of wood together. We will use the pocket hole joint, which is drilling holes in the wood to join them. If your wood is straight and flat, this method will work well. If your wood isn't straight or flat, you might want to try another method, such as dowel joinery. Here are the steps
-
Drill Pocket Hole Joints. Measure and mark the location where you would like to place the pocket hole joint. Then drill 3/4 inch deep holes into the ends of each piece of wood using a jig saw or handheld drilling machine.
-
Sand Smooth. Sanding the edges of the wood will help to prevent the joint from splitting later.
-
Glue Together Apply glue on both sides of the wooden plank. Let it sit for about 5 minutes before clamping the pieces together.
-
Attach the Pieces together. After the glue has dried properly, clamp the pieces together to make sure they are flush.
-
Trim Joinery. Trim any excess wood surrounding the joint once the glue has dried completely.
To be able to turn the pieces inside-out, leave enough room between them.