Are you having trouble with your scroll saw's blade tension? This isn't a common problem. Many people have trouble determining the correct blade tension for flower designs on their scroll see. This article will explain how to identify each component and the differences between blade tension, stacking, and lock. This article will help you to understand what to do and how to adjust tension for flower patterns.
Adjusting the blade tension to create scroll saw flower designs
It is important to choose the correct blade for your scroll saw and adjust the tension. If these factors aren't adjusted correctly, the scroll see will not function properly and won't cut the wood. The blade may come in any style but the tension settings should match the design. Many scroll saw manufacturers have different ways of setting the tension. Refer to your manual for the most detailed instructions. These are some useful tips.
First, ensure the table is square to the blade. A protractor or small square can help you do this. A scroll saw's scales won't be accurate. It is important to check the scales on your scroll saw's blade-tilt regularly. After setting the blade tension, cut the flower designs. The blades should be adjusted to ensure that they are not too tight, too loose, or both.
Stack cutting
To create a scrollsaw flower shape, stack some pieces of wood together. Then use double-sided adhesive to keep the pieces in place. Some scrollers use small toothpicks or nails to hold their stacks together. As binding tools, you can use staples or even old circular saw blades. This will prevent layers from shifting. Once you have attached each layer to the other, it is time to start cutting.
Magnification allows for more precise cuts. A magnifying mirror mounted on the scrollsaw, or a tool lens, is useful. A magnifying LED work lamp can also be purchased to better illuminate your work area. Some work lamps have a magnetic or clamping base, which makes it easier to move your work space. There are many different types of scroll saws on the market. Find the right one for you.
Locking the footpiece

There are many options to choose the right drop foot that will fit your scroll saw. The foot should be placed on top of the workpiece. After making adjustments, be sure to tighten the footlock on your workpiece. Next, adjust the speed knob to the desired setting. The material to be cut, the thickness of the material and the number or teeth of the blade will affect this setting. Lastly, make sure that the workpiece is secured in the drop foot.
Scroll saws might not be right for every job. These are tools that are designed for specific tasks. You can use the workpiece lock to protect the wood when you are cutting a flower design. This will prevent the workpiece's movement while you are cutting. You should also consider how much weight you intend to use for the cut. For example, if you plan on cutting a large flower, you may want to consider a larger blade.
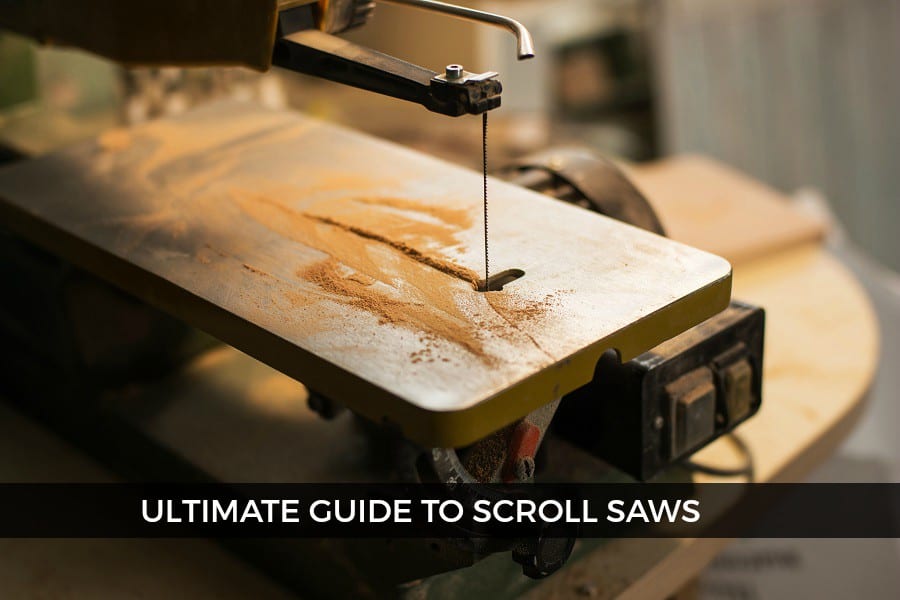
Identifying the parts of a scroll saw
Scroll saws can be classified by their throat size. This is the distance between blade and rear frame. The throat size dictates the size of the wood that can be cut. Smaller saws have shallower throats while larger industrial saws have deeper throats. Before computer automation, larger objects could have been cut with industrial saws. However, for most home projects, a basic scroll saw will be sufficient.
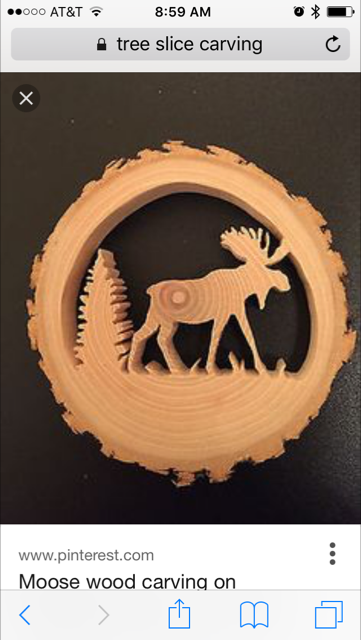
Download a free pattern for a flower scroll saw if your not sure how to start a project. These patterns come with detailed instructions on how to build them. These patterns are easy to follow and make beautiful decorations. These scroll saws can also be used as decorative items in your kitchen or classroom. Scroll saws are great for making practical items as well. Although it can be difficult to identify each part of a scroll saw flower design, it is possible.
FAQ
What kind and type of wood should i use?
Oak, maple, cherry and mahogany are the most common wood types used for woodworking. Each type of wood has its own unique characteristics that can affect the final product's appearance. Oak tends to be harder and darker than other woods. Birch is light and soft, while mahogany can be heavier and more dense. You can also choose from solid wood or veneers. Veneers can be described as thin sheets of wood that have been glued together in one layer.
How do you calculate woodworking prices?
It is crucial to keep project costs as low-cost as possible. Always make sure you get the best price on materials. It's also worth taking into account all the other factors that may affect the cost of your projects, such as time, skill level, and experience. Our guide to the average household DIY task price will give you an idea of how much it costs to complete different types of woodwork projects.
What is the minimum investment a hobbyist needs to make in order to get started?
A lot of capital is required to purchase the necessary supplies and tools if you want to start your own woodworking shop. The best place to start is by buying a small drill press, circularsaw, circular saw or sanding machine. These items don't cost much so they won't break your budget.
Which woods are good to use for furniture-making?
Woods are classified by their hardness. Softwoods can be pine, fir or cedar. Because they are resistant to rot, softwoods are often used as outdoor furniture. These hardwoods include maple, mahogany and teak. They can't withstand the elements outside so they're best kept indoors.
Statistics
- Average lumber prices rose about 600 percent between April 2020 and May 2021. (familyhandyman.com)
- The U.S. Bureau of Labor Statistics (BLS) estimates that the number of jobs for woodworkers will decline by 4% between 2019 and 2029. (indeed.com)
- The best-paid 10 percent make $76,000, while the lowest-paid 10 percent make $34,000. (zippia.com)
- In 2014, there were just over 237,000 jobs for all woodworkers, with other wood product manufacturing employing 23 percent; wood kitchen cabinets and countertop manufacturing employing 21 percent. (theartcareerproject.com)
External Links
How To
How to stain wood
The process of staining wood involves the application of chemicals to the wood's surface, which causes it to change its color. This chemical reaction changes the wood's color from white to brownish. Although oak is the most popular type of wood to stain, there are many other types that can be used.
There are many options for applying stains to wood surfaces. Some methods include mixing the stain along with a solvent like turpentine and then applying the mixture to the wood by brushing or spraying. You can also apply a solution containing water and dye directly to the wooden surface. Stains can also be mixed into paints and varnishes, becoming part of the finish coating.
Preparing the surface for staining wood is the first step. You must clean the wood well to remove any grease or dirt that might interfere with the application of the stain. Sanding the wood removes scratches and imperfections. Then you must decide what kind of stain you want to use. There are two types of stains that can be used: penetrating and non-penetrating. Penetrating stain penetrates deeper into wood than nonpenetrating, making them suitable for dark colors like mahogany. Penetrating stains are best paired with lighter colors, such as maple.
After choosing the type and application method you prefer, gather your tools. Paintbrushes are great for applying stain because they allow you to evenly spread the liquid across the surface. After you're done painting, make sure to have some rags handy to remove any excess stain. If you are planning to mix your stain, ensure you have enough containers for each component.
After you have prepared your materials for staining, clean the area. To remove dirt and dust, use warm water and soap. Use a dampened rag and clean water to wipe the furniture. If you intend to stain darker wood, make sure you get rid of any debris.
Apply the stain next. Start at one end of the piece of furniture and brush or spray the stain onto the wood. Move slowly and carefully along the grain of your wood until you reach its opposite end. Keep the stain from dripping off the wood's surface. Let the stain dry completely before proceeding with the next steps.
Clear polyurethane is used to protect the painted surfaces. Three coats of polyurethane sealing agent are required. Allow the third coat, which should dry overnight, to dry before sanding.