
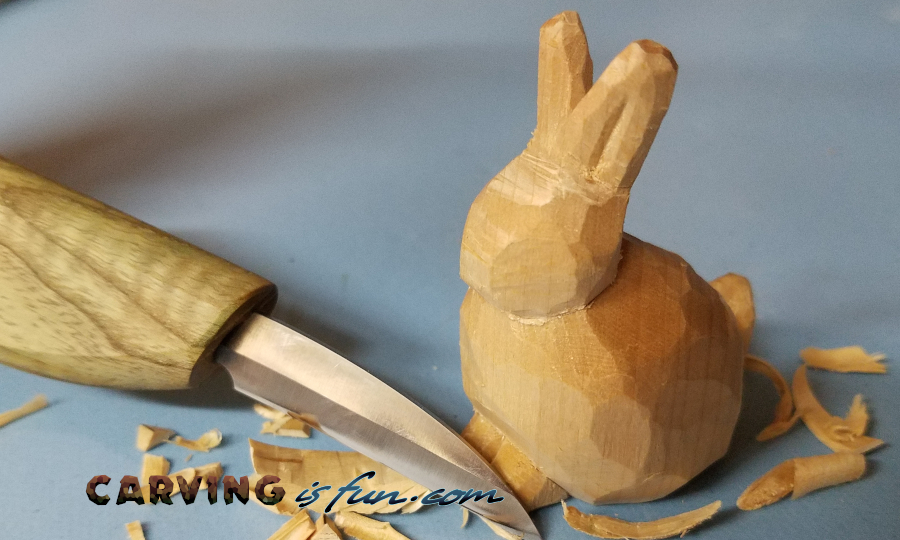
When you are just starting out, it is important to find a book that will teach you the essentials of woodcarving. These books will help you reach your goal. Chris Pye's Woodcarving Course and Reference Manual is an excellent choice. Shirley Adler's Carving Spoons book is another valuable resource. Lora S. Irish's Relief Carving Wood Spirits is also a great choice. Danny Brewer’s Handcarved Bowl book is another great choice for beginners.
Chris Pye Woodcarving Course & Reference Manual
Chris Pye is one of the most popular woodcarving books for beginners. It is a complete reference book for woodcarvers and includes step-by–step instructions on how to carve wood. It also has a section on carving instruments, which is very helpful for those new to the craft. Chris Pye, an internationally acclaimed woodcarver will guide you through using various tools.
The book is full of valuable information. This includes images, motifs and techniques. This book also has a conversational teaching style which encourages students and their projects to be completed. With a little practice, you'll be amazed at the ease with which you can carve almost anything. And when you're done with the book, you can start creating beautiful woodcarving projects with confidence.
Shirley Adler Carving Spoons
This second edition of Shirley Adler's Carving Spoon for Beginners will introduce you to the world of hand-carved wooden spoons. You can carve spoons in many different styles and shapes, from rustic to modern. Shirley Adler shows how to transform a simple wooden spoon into an artful work of art. The step-by-step instructions of Shirley Adler will show you how to shape the bowl and add details to the handle.
Adler provides an easy-to understand instructional style that includes a few step-by–step examples. She encourages you to explore your creative side by helping you design patterns and designs. This book is particularly helpful for beginners to spoon carving, because it shows that even six-year-olds can make beautiful spoons. This book contains 2 cutouts for basswood spoons as well as an OCC tools spoon-carving gouge.
Lora S. Ireland's Relief Carving Wood Spirits
Relief Carving Wood Spirits For Beginners shows you how to complete the whole process of relief carving using illustrations and tips from Lora S. Irish. This book is great for beginners or those who are more experienced in this art. This comprehensive guide offers information on carving tools and how to create realistic facial features. It also includes tips for adding texture. The guide also includes three types of patterns: the traditional American and European wood carving styles, as well as the Celtic Knot.
This e-book provides step-by-step directions for creating relief landscapes and other designs. It also covers pyrography and different tools for burning. It provides detailed instructions and examples of shading and detailing. Adobe Reader.pdf files are available. Download the sample chapters for free and use them in your own woodworking projects.
FAQ
Where do I start with woodworking?
Building furniture is the best way to learn how furniture is made. You will need tools. There are bound to be mistakes. But if your persistence is consistent, you will soon master the craft.
First, choose a project you would like to complete. It can be something as simple and small as a box, or large-scale as an entertainment center. After you have decided on a project to work on, contact a local woodworker that specializes in this type of work. Ask him or her for advice on what tools you'll need and where to find them. Ask if you can find someone who does this kind work.
What wooden items sell well?
Wood that has been harvested sustainably is the best-selling type of wood.
Maple, cherry, mahogany walnut, teak, mahogany and maple are the most common woods for furniture.
These woods have beautiful grain patterns and colors. They are also very strong. They also last for many years if cared for properly.
To prevent moisture damage to wood furniture, it is important that it be painted before any other surfaces. All surfaces should be painted, including doors, drawers, and handles.
You want your furniture to last as long as possible so you need to choose a paint that is water resistant.
It is recommended to use an oil-based primer, then apply two coats. It is possible to apply multiple coats depending on how heavy the wear.
Spray cans or aerosol paints should be avoided. These products are contaminated with solvents, which evaporate rapidly and can leave behind toxic fumes.
Are you a genius in order to master woodworking?
No. Woodworking does not require any special skills. It is possible to learn basic tools and techniques that will allow you to create beautiful art.
Statistics
- In 2014, there were just over 237,000 jobs for all woodworkers, with other wood product manufacturing employing 23 percent; wood kitchen cabinets and countertop manufacturing employing 21 percent. (theartcareerproject.com)
- Average lumber prices rose about 600 percent between April 2020 and May 2021. (familyhandyman.com)
- Overall employment of woodworkers is projected to grow 8 percent from 2020 to 2030, about as fast as the average for all occupations. (bls.gov)
- The U.S. Bureau of Labor Statistics (BLS) estimates that the number of jobs for woodworkers will decline by 4% between 2019 and 2029. (indeed.com)
External Links
How To
How to join hardwood without using nails
Woodworking is a hobby that many people enjoy doing. Woodworking can be a fun hobby because you can work with your hands to make useful objects from wood. However, there are times when you want to join two pieces of wood together without having to use nails. This article will demonstrate how to do so to preserve the beauty of your woodwork.
Before joining the pieces of wood together, you will need to first trim any edges. You don't want any sharp corners to cause problems later. After you have completed this step, you are ready to glue your boards together.
If you are working on hardwood, you should only use glue on one side. For softwoods like cedar and pine, glue should be applied to both sides. After applying the glue, press the boards firmly until they are completely stuck together. Before you proceed to the next step, be sure to let the glue dry completely.
Once you've glued your boards together you will need to drill holes in the joints to accommodate screws. Depending on the type of screw that you use, the size of these holes will vary. If you are going to use a half-inch wood screw, you will need to drill at least 3/4 inch deep.
Once you have drilled the holes, the next step is to drive your screws through the joint into the board's backside. You should be careful not to touch the board's front surface. This could cause damage. Try to not hit the ends of the screws when driving the screws. This will help prevent splitting of the end grain.
You'll need to protect your completed project from the elements. You can seal the furniture pieces or cover the top. It doesn't matter what method you use, you want something that will last many years. Examples include oil-based varnishes and polyurethanes, shellac, lacquer and others.
These products are available at most home improvement stores. Be sure to choose the right one for your project. Also, remember that some finishes are toxic and should never be used indoors. Protective gear should always be worn when handling these finishes.